

There are some culinary achievements that I just chalk up to:
• Way out of my league
• Why bother when you can buy it better and cheaper
• No experience
• Takes too much time
• Scary ingredients that I can’t find in my local stores
Tamales, a regional specialty and holiday tradition, are one of those “culinary giants” for me. That is, until friend and co-worker Sarah confided that she had always wanted to try making tamales and so we joined forces.
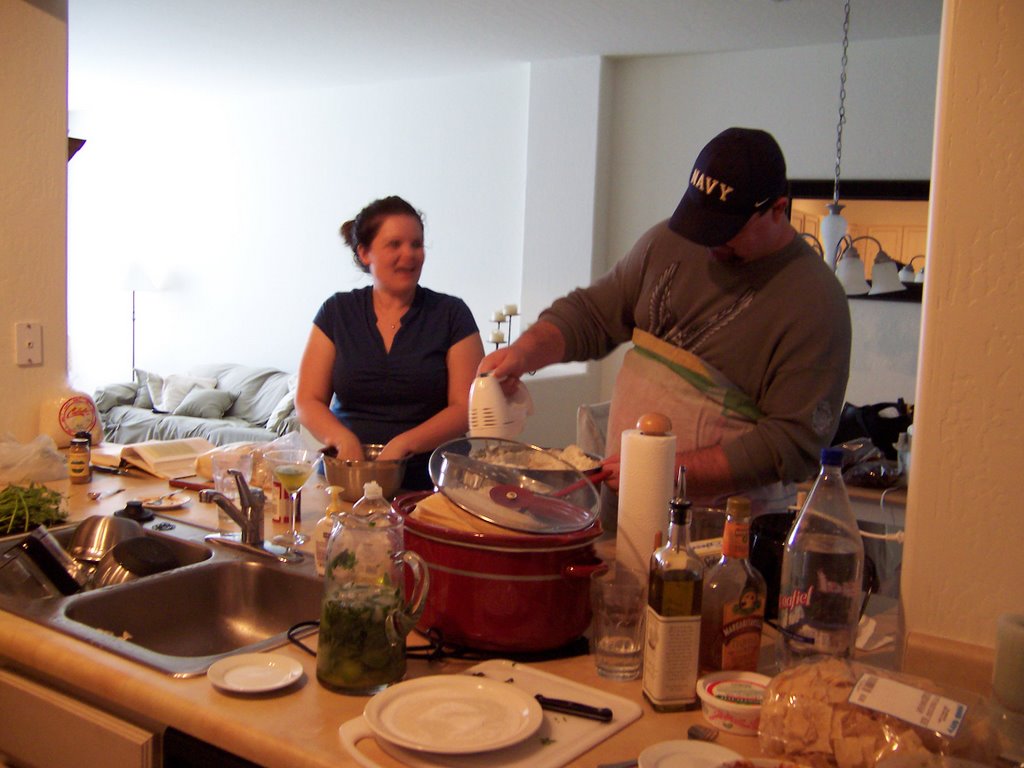
We visited Ranch Market, consulted the expert recipe provider Rick Bayless, forced our husbands/boyfriends to help, and plunged ahead.

And…we surprised ourselves. Tons of work, exhausting, but absolutely sublimely delicious. A new annual tradition. I couldn’t help but have a moment of pause as we had a modern kitchen with tons of appliances and such and still labored…I am so impressed with generations before us who made these with nothing more than basic kitchen tools and their bare hands. Impressed doesn’t do it justice.
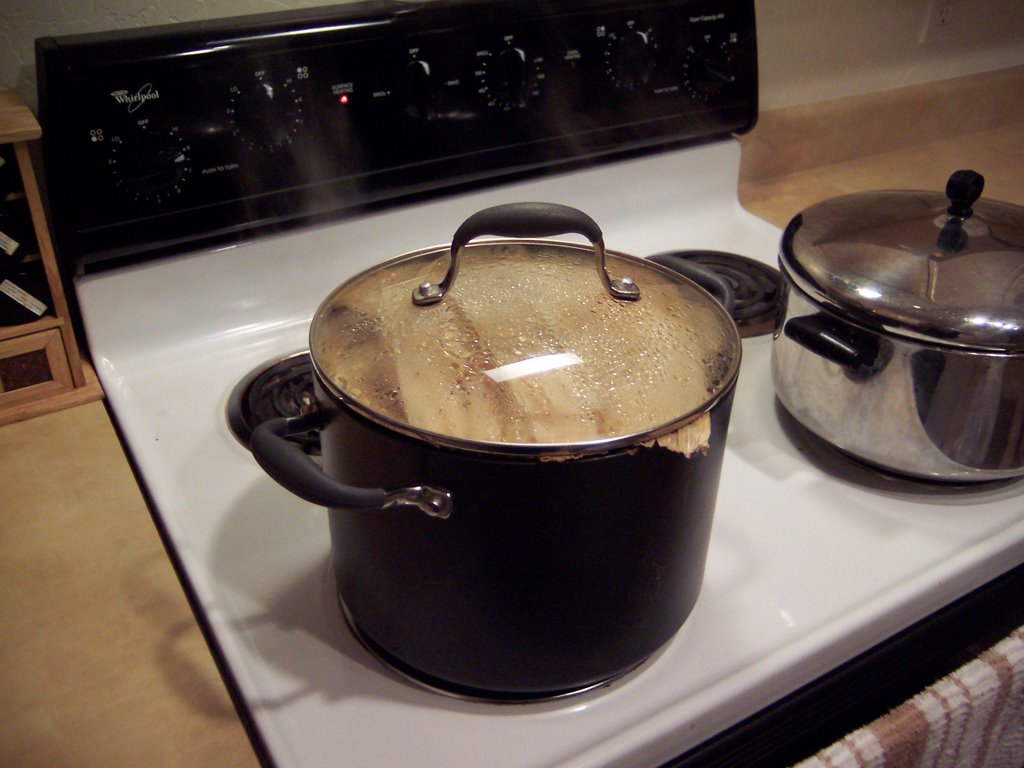
Here are some photos of the process, and the delicious recipes.
My tips for success:
• Allow a minimum of 8 hours (esp. if you are tripling the recipe)
• I recommend at least tripling the recipe (after all that work, make a lot!!)
• Avoid the banana leaves – they look cool but are hard to work with and more expensive. Roll all in cork husks. Trust me.
• Use kitchen twine, the husk wrapper ties look cool, but 6-8 hours in you’ll find the attention to detail is a pain in the butt. Sorry if that’s cheating, but twine is oh-so-efficient!
• Make the fillings ahead of time – as they are both chili/meat stews, they keep well.
• Have at least 3-4 sets of hands for filling/rolling/tying.
• Have other food items to munch on and lots of drinks – keeps morale high and your team will see you through the end of the day.
• Your back and feet will hurt – don’t make big plans for that night.
Green Chile Chicken Tamales
By Rick Bayless*
Makes about 26
FILLING
1 8-ounce package dried corn husks, soaked in water at least 3 hours or overnight
1 pound tomatillos, husked, rinsed
4 3-inch-long serrano chiles, stemmed, chopped
4 large garlic cloves, chopped
1 1/2 tablespoons olive oil
2 cups low-salt chicken broth
4 cups (packed) coarsely shredded cooked chicken (about 1 pound; from purchased rotisserie chicken)
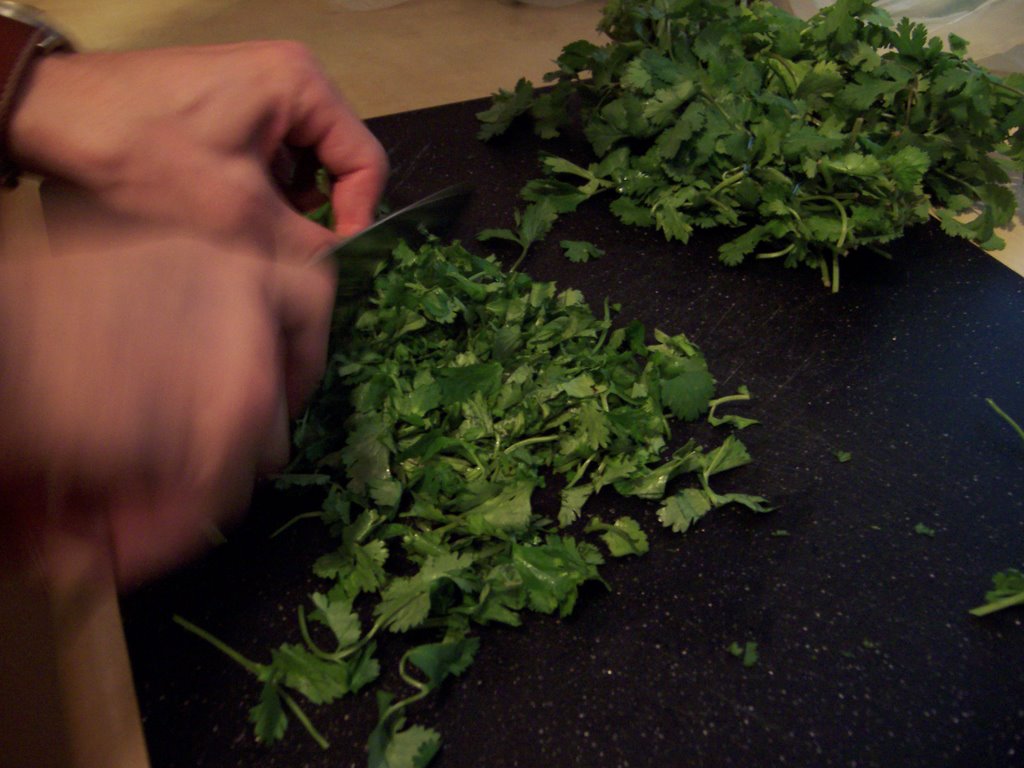
2/3 cup chopped fresh cilantro
DOUGH
1 1/3 cups lard or solid vegetable shortening
1 1/2 teaspoons salt (omit if masa mixture contains salt)
1 1/2 teaspoons baking powder (omit if masa mixture contains baking powder)
4 cups freshly ground masa dough for tamales (34 to 36 ounces), or make masa dough with 3 1/2 cups masa harina (corn tortilla mix; about 17 ounces) mixed with 2 1/4 cups warm water
2 cups (about) low-salt chicken broth
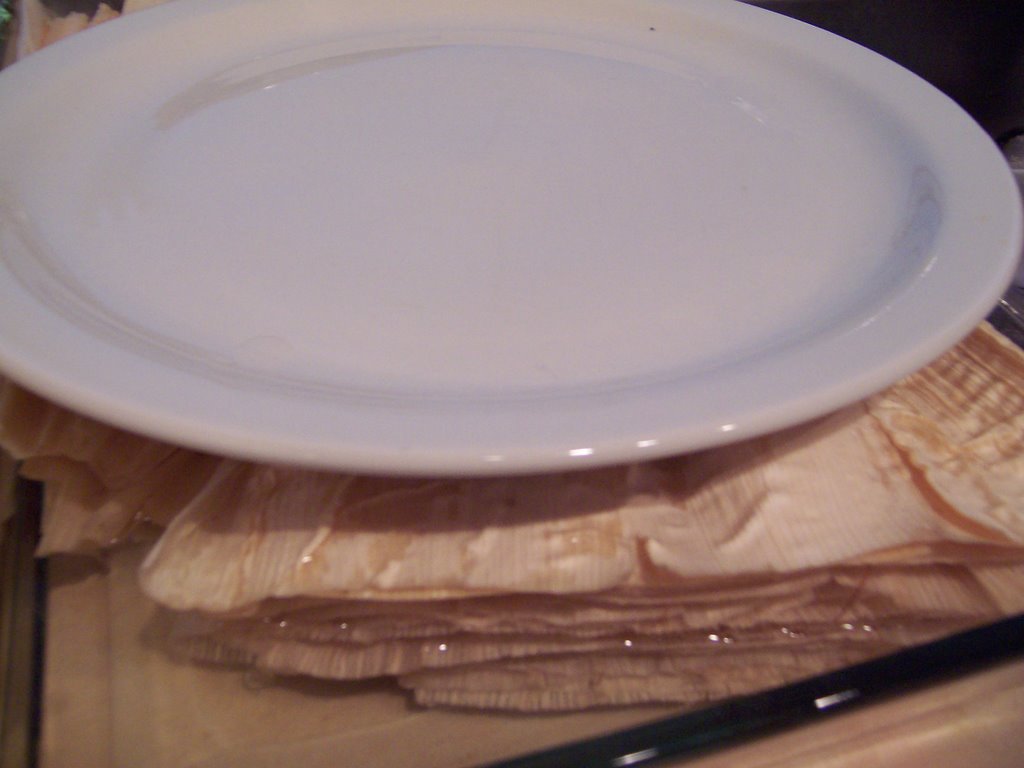
FOR FILLING : Place husks in large pot or large bowl; add water to cover. Place heavy plate on husks to keep submerged. Let stand until husks soften, turning occasionally, at least 3 hours and up to 1 day.
Preheat broiler. Line heavy baking sheet with foil. Arrange tomatillos on prepared sheet. Broil until tomatillos blacken in spots, turning once, about 5 minutes per side. Transfer tomatillos and any juices on sheet to processor and cool. Add chiles and garlic to processor and blend until smooth puree forms. Heat oil in medium saucepan over medium-high heat. Add tomatillo puree and boil 5 minutes, stirring often. Add broth. Reduce heat to medium; simmer until sauce coats spoon thickly and is reduced to 1 cup, stirring occasionally, about 40 minutes. Season with salt. Mix in chicken and cilantro. (Can be made 1 day ahead. Cover and chill.)
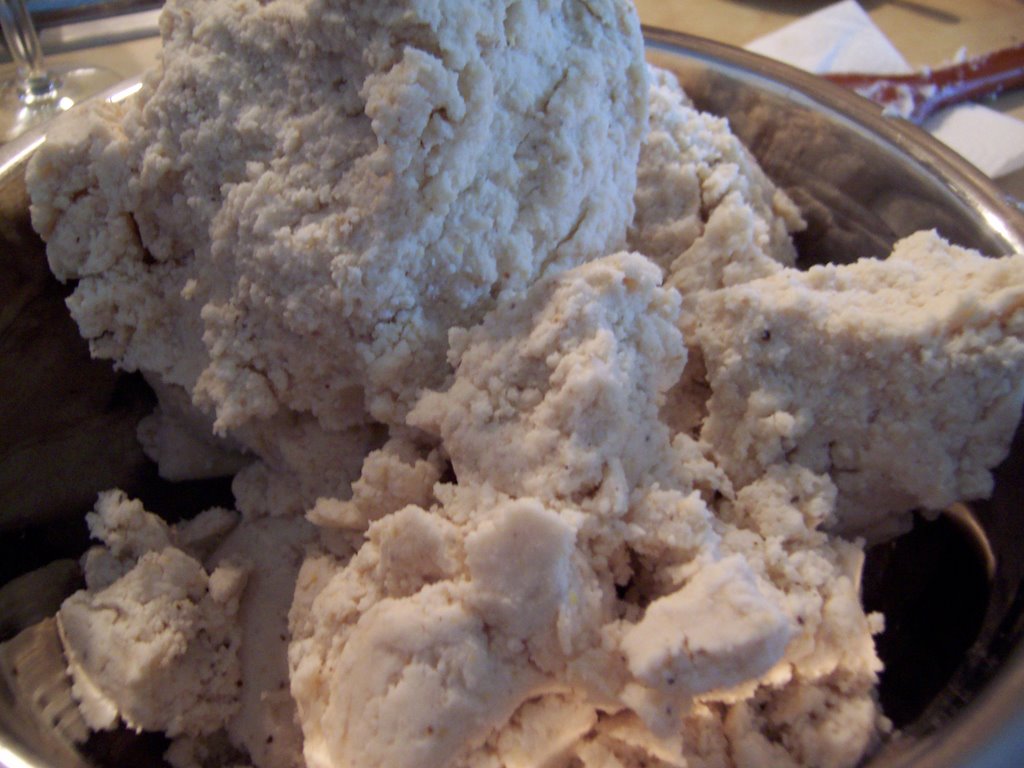
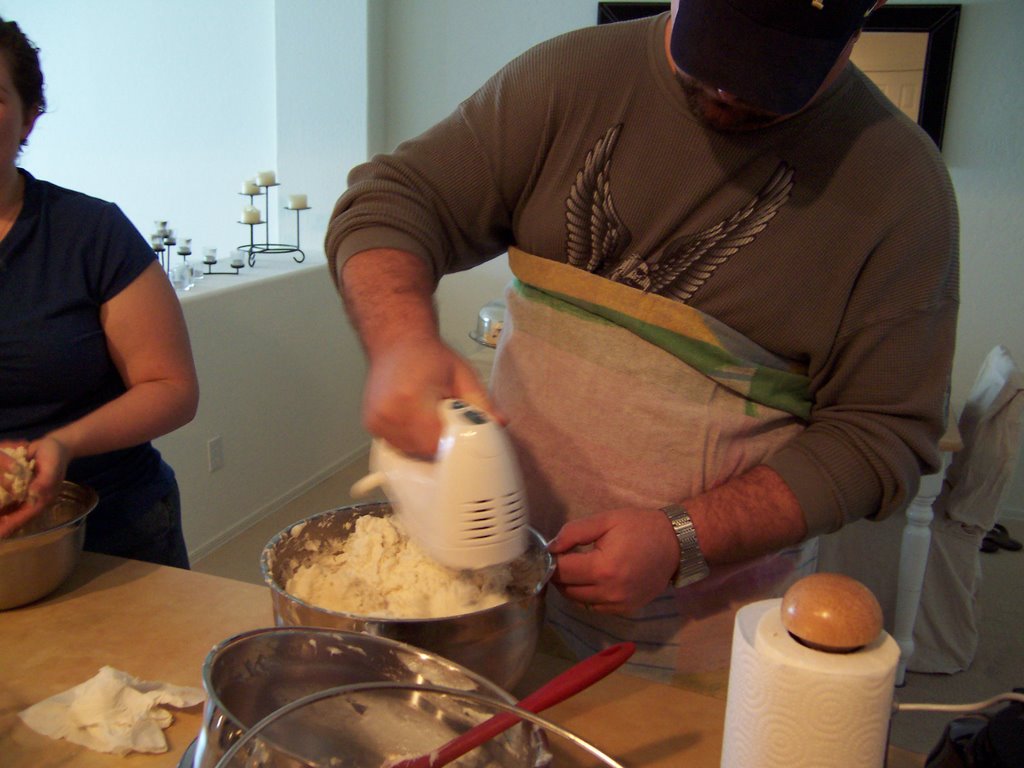
FOR DOUGH : Using electric mixer, beat lard (with salt and baking powder, if using) in large bowl until fluffy. Beat in fresh masa or masa harina mixture in 4 additions. Reduce speed to low and gradually beat in 1 1/2 cups broth, forming tender dough. If dough seems firm, beat in enough broth, 2 tablespoons at a time, to soften.
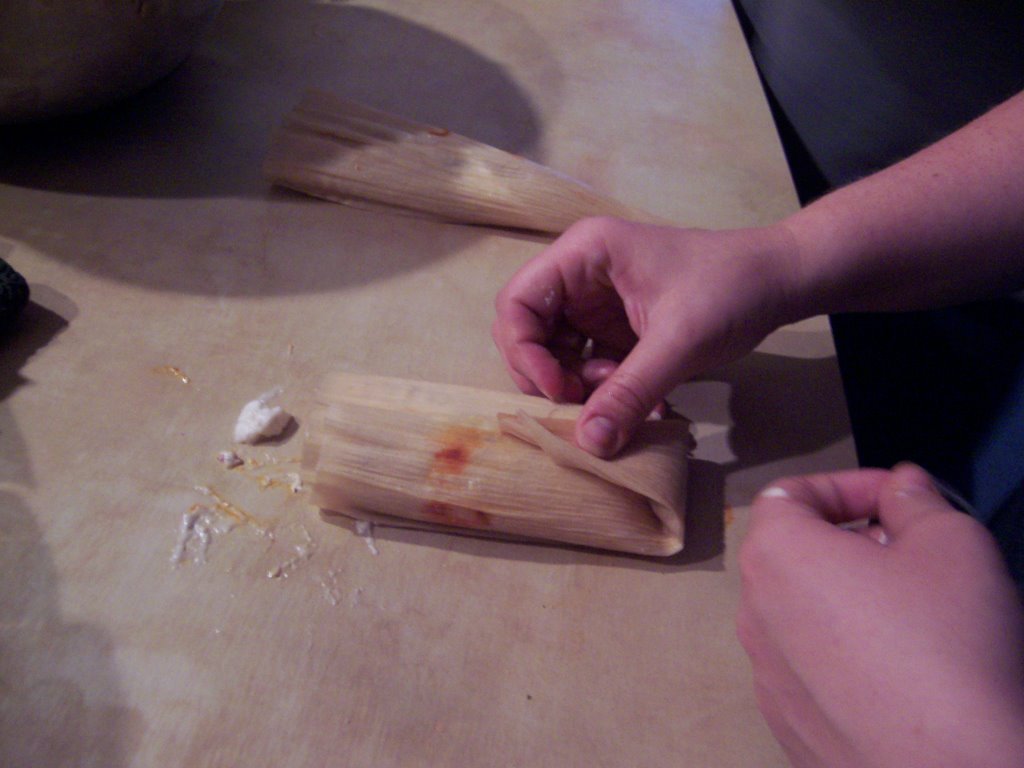
Fill bottom of pot with steamer insert with enough water (about 2 inches) to reach bottom of insert. Line bottom of insert with some softened corn husks. Tear 3 large husks into 1/4-inch-wide strips to use as ties and set aside. Open 2 large husks on work surface. Spread 1/4 cup dough in 4-inch square in center of each, leaving 2- to 3-inch plain border at narrow end of husk. Spoon heaping tablespoon filling in strip down center of each dough square.

Fold long sides of husk and dough over filling to cover. Fold up narrow end of husk. Tie folded portion with strip of husk to secure, leaving wide end of tamale open.

Stand tamales in steamer basket. Repeat with more husks, dough, and filling until all filling has been used. If necessary to keep tamales upright in steamer, insert pieces of crumpled foil between them. Bring water in pot to boil. Cover pot and steam tamales until dough is firm to touch and separates easily from husk, adding more water to pot as necessary, about 45 minutes. Let stand 10 minutes. (Can be made 2 days ahead. Cool 1 hour. Cover and chill. Before serving, re-steam tamales until hot, about 35 minutes.)
Red Chili Pork Tamales
By Rick Bayless*
Makes about 18 tamales
For the filling:
16 large (about 4 ounces) dried guajillo chiles, stemmed, seeded and each torn into several pieces
4 garlic cloves, peeled and chopped
1/2 teaspoon black pepper, preferably freshly ground
1/4 teaspoon cumin, preferably freshly ground
1 1/2 pounds lean boneless pork (preferably from the shoulder), cut into 1/2-inch cubes
Salt
For the batter:
10 ounces (1 1/3 cups) rich-tasting pork lard (or vegetable shortening if you wish), slightly softened but not at all runny
1 1/2 teaspoons baking powder
2 pounds (4 cups) fresh coarse-ground corn masa for tamales OR 3 1/2 cups dried masa harina for tamales mixed with 2 1/4 cups hot water
1 to 1 1/2 cups chicken broth
2 1-pound packages banana leaves, defrosted if frozen
1. Preparing the filling. In a large blender or food processor (or working in batches), combine the chiles, garlic, pepper and cumin. Add 3 cups water, cover and blend to a smooth puree. Strain the mixture through a medium-mesh strainer into a medium-size (3-quart) saucepan.
Add the meat, 3 cups water and 1 teaspoon salt. Simmer, uncovered, over medium heat, stirring regularly, until the pork is fork-tender and the liquid is reduced to the consistency of a thick sauce, about 1 hour. Use a fork to break the pork into small pieces. Taste and season with additional salt if necessary. Let cool to room temperature.
2. Preparing the batter. With an electric mixer on medium-high speed, beat the lard or shortening with 2 teaspoons salt and the baking powder until light in texture, about 1 minute. Continue beating as you add the masa (fresh or reconstituted) in three additions. Reduce the speed to medium-low and add 1 cup of the broth. Continue beating for another minute or so, until a 1/2-teaspoon dollop of the batter floats in a cup of cold water (if it floats you can be sure the tamales will be tender and light). Beat in enough additional broth to give the mixture the consistency of soft (not runny) cake batter; it should hold its shape in a spoon. Taste the batter and season with additional salt if you think necessary.
For the lightest textured tamales, refrigerate the batter for an hour or so, then rebeat, adding enough additional broth or water to bring the mixture to the soft consistency it had before.
3. Preparing the banana leaves. Unfold the banana leaves and cut off the long, hard sides of the leaves (where they were attached to the central vein). Look for holes or rips, then cut leaves into unbroken 12-inch segments (you will need 20). Either steam the segments for 20 minutes to make them soft and pliable, or one at a time pass them briefly over an open flame or hot electric burner until soft and glossy.
4. Setting up the steamer. Steaming 20 leaf-wrapped tamales can be done in batches in a collapsible vegetable steamer set into a large, deep saucepan (if you stack the tamales more than two high they will steam unevenly). To steam the whole recipe at once, you’ll need something like the kettle-size tamal steamers used in Mexico or Asian stack steamers, or you can improvise by setting a wire rack on 4 coffee or custard cups in a large kettle.
It is best to line the rack or upper part of the steamer with leftover scraps of banana leaves to protect the tamales from direct contact with the steam and to add more flavor. Make sure to leave tiny spaces between leaves so condensing steam can drain off.
5. Forming the tamales. Cut twenty 12-inch pieces or string or thin strips of banana leaf. One at a time, form the tamales: Lay out a square of banana leaf, shiny-side up, and spread 1/3 cup of the batter into an 8x4-inch rectangle over it (as shown in the illustration). Spoon 2 tablespoons of the filling over the left side of the rectangle of batter, then fold in the right third of the leaf so that the batter encloses the filling. Fold in the uncovered third of the leaf, then fold in the top and bottom. Loosely tie the tamales with string and set them in the steamer.
6. Steaming and serving the tamales. When all the tamales are in the steamer, cover them with a layer of banana leaf scraps or leftovers. Set the lid in place and steam over a constant medium heat for about 1 1/4 hours. Watch carefully that all the water doesn’t boil away and, to keep the steam steady, pour boiling water into the pot when more is necessary.
Tamales are done when the leaf peels away from the masa easily. Let tamales stand in the steamer off the heat for a few minutes to firm up. For the best textured tamales, let them cool completely, then re-steam about 15 minutes to heat through.
Working Ahead: Both filling and batter can be made several days ahead, as can the finished tamales; refrigerate, well covered. Re-steam (or even microwave) tamales before serving. For even more flexibility, batter, filling or finished tamales can be frozen. Defrost finished tamales in the refrigerator overnight before re-steaming.
* Recipes excerpted from Mexico One Plate at a Time by Rick Bayless (Scribner). Please note that recipes are copied and pasted from the Web published version.


4 comments:
... and definitely bring/wear an apron, so that you don't have to borrow a towel to avoid the masa/lard splatters while mixing the two! =)
Yes, that IS a towel wrapped around David in an attempt to avoid wearing the lard on his shirt! :)
Kudos to you. I have done them twice when I lived in AZ...such a pain...but everybody loves them.
Thanks Peabody - yes, a pain is the right term, but they are delicious! Also, thanks to Sarah because without her I would have given up about halfway. :)
Post a Comment